


We Ship Worldwide!


Secure
Shopping Cart by

Excellent eBay feedback!


|
How to: Replace Fuel Pump
Hey guys,
Well I switched my old pump out for a new Walbro 255lpm unit. This was done on a 5th gen prelude, although this is pretty similar for most Honda's. I figured since I was doing this I would document it because I didn't see a DIY. And it was time to give something back lol, instead of leaching. It's very easy, and requires little tools.
Step 1:
Remove rear seat.
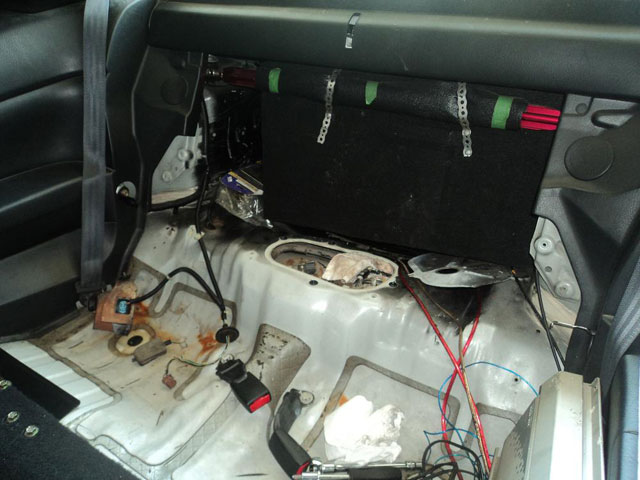
Step 2:
Remove Bracket (sub frame or whatever you call it).
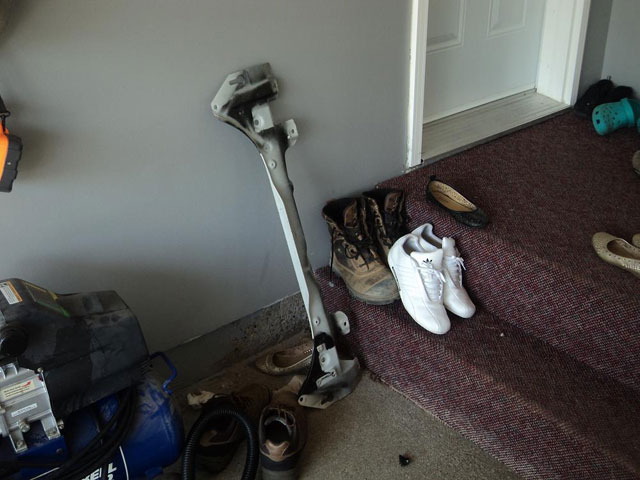
Step 3:
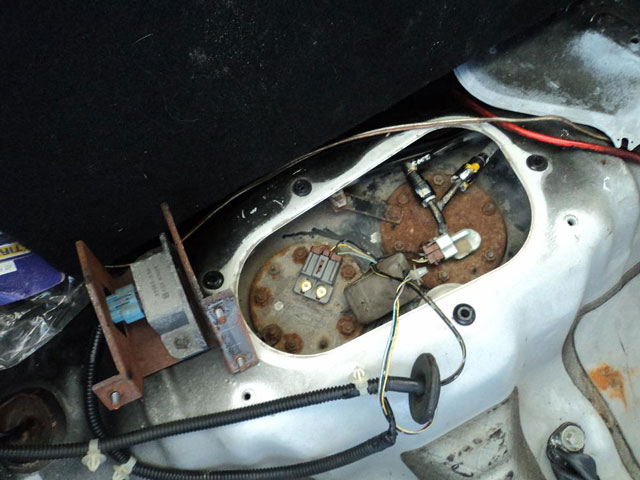
Remove cap to gain access to fuel pump and fuel level sensor.
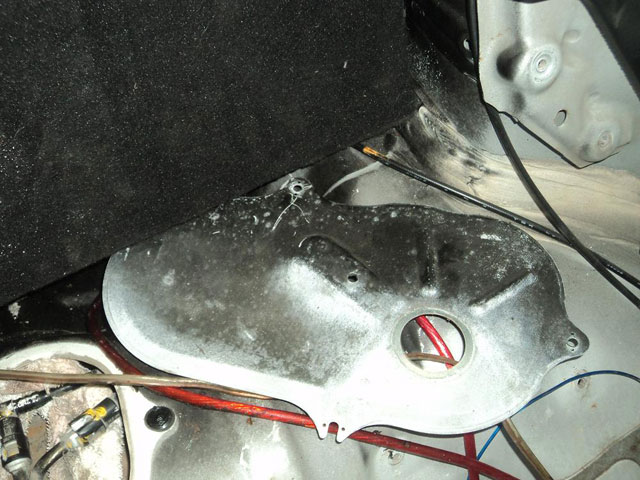
Step 4:
Remove electrical connections, there are two. One for the pump and one
for the fuel gauge sensor. Start your car to relieve any pressure that is left in the line (WITH SENSOR DISCONNECTED). Move everything out of the way so it's easier to get at the pump. Remove the two fuel lines, they are just clip connections and come off fairly easy, no trouble with a bit of muscle haha. Remember to put a rag close to the connections to catch any fuel, it won't be very much.
Take the 10mm nuts off the pump cover (approx. 6?).
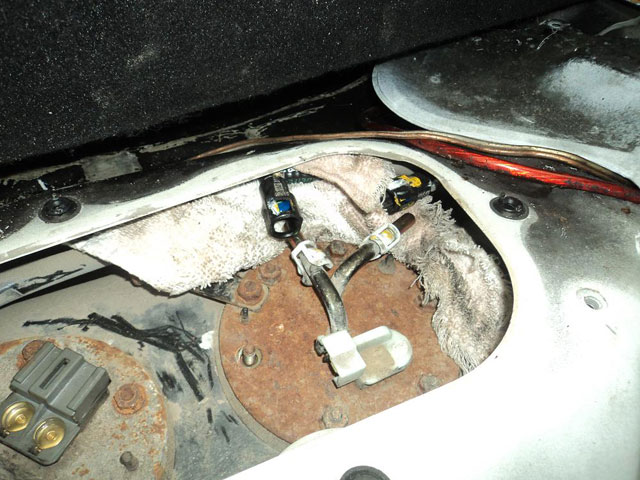
Step 5:
Remove the pump assembly from the tank and bring it over to a working area. Remember to put down an old towel or something to catch left over fuel.
Step 6:
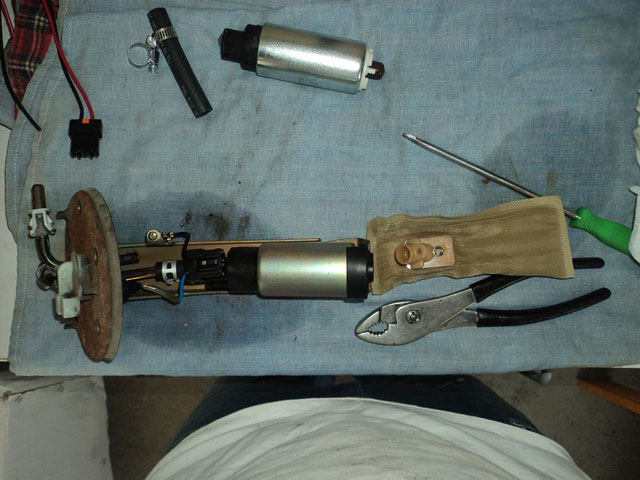
There is a small washer retainer that holds the filter to the bottom of the pump. Remover it with a screw driver or something and discard it, walbro will supply you with a new one. After taking the filter off, disconnect the coupling hose from the hard line to the pump. Disconnect the electrical connection.
MAKE SURE YOU KEEP THE RUBBER GASKET AT THE BOTTOM OF THE PUMP, YOU WILL NEED TO REUSE THIS!
Note: I was lucky that my existing electrical connection and the one on the walbro pump was a direct match. If it's not, you may have to rewire your pump with the connection provide with the new pump kit (straightforward).

Step 7:
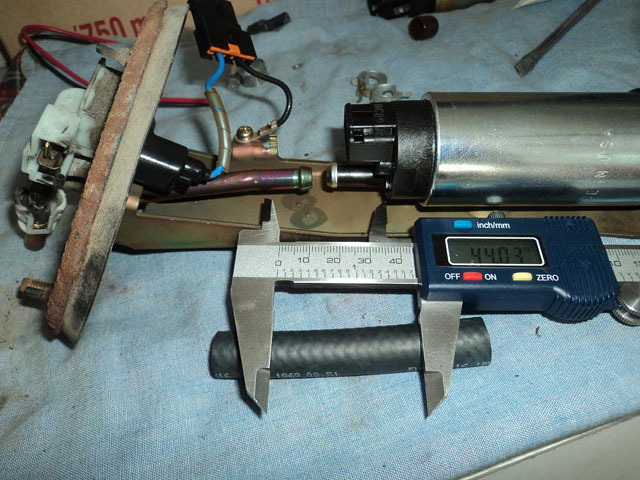
Mock up the pump to see how much hose you will need, in my case (5th gen) 44mm was perfect. Cut the new hose to length.
Step 8:
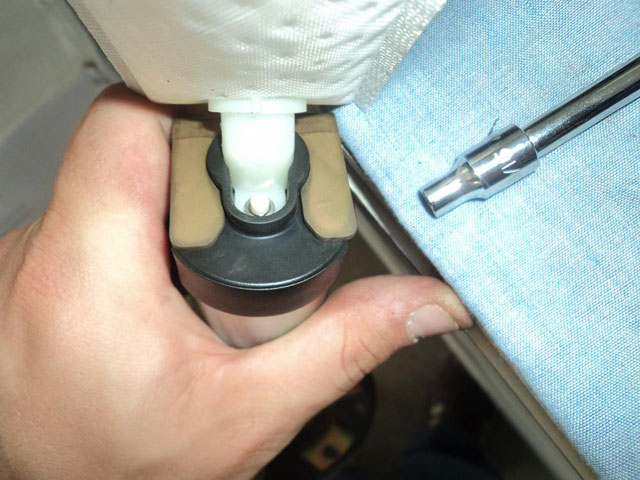
Place the old rubber gasket on the bottom of the pump and slide it back into the bracket. THEN install the new fuel filter on the bottom. The pump will not slide into the bracket if the filter is installed; you must do this prior to filter installation.
Use a small socket 3/16 or something to push the new retaining washer onto the filter cap.
Step 9:
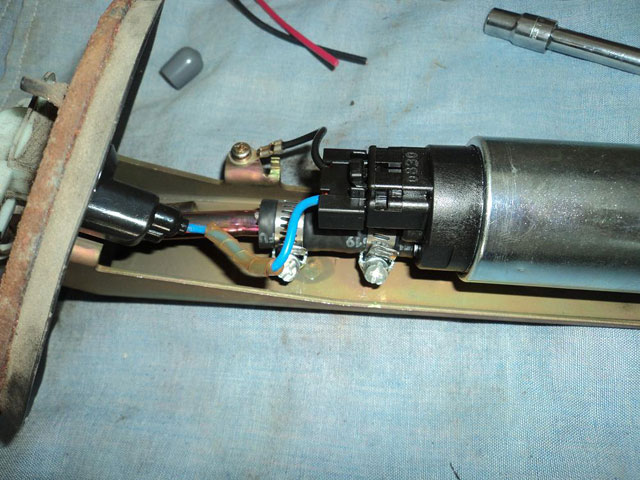
Connect two hose clamps for union hose (44mm one you cut) and connect the electrical connection.
Step 10:
Place the pump assembly back into the tank, MAKE SURE THE FILTER SITS INTO THE BAFFLE. Tighten the bolts of the pump cover to 48In-Lbs (4FT-LBS). Reconnect fuel lines and the two electrical connections. One for the pump and one for the gauge.
Step 11:
Turn key to prime new pump. Start car when you can't hear the pump priming anymore. Check for leaks. Some people say to give it a few good shots of gas. If all good, put everything back together.
--- This how to courtesy of BillH22A ---
|
Store

Engine

Exhaust

Exterior

Interior

Misc.

Suspension

Wheels
|


